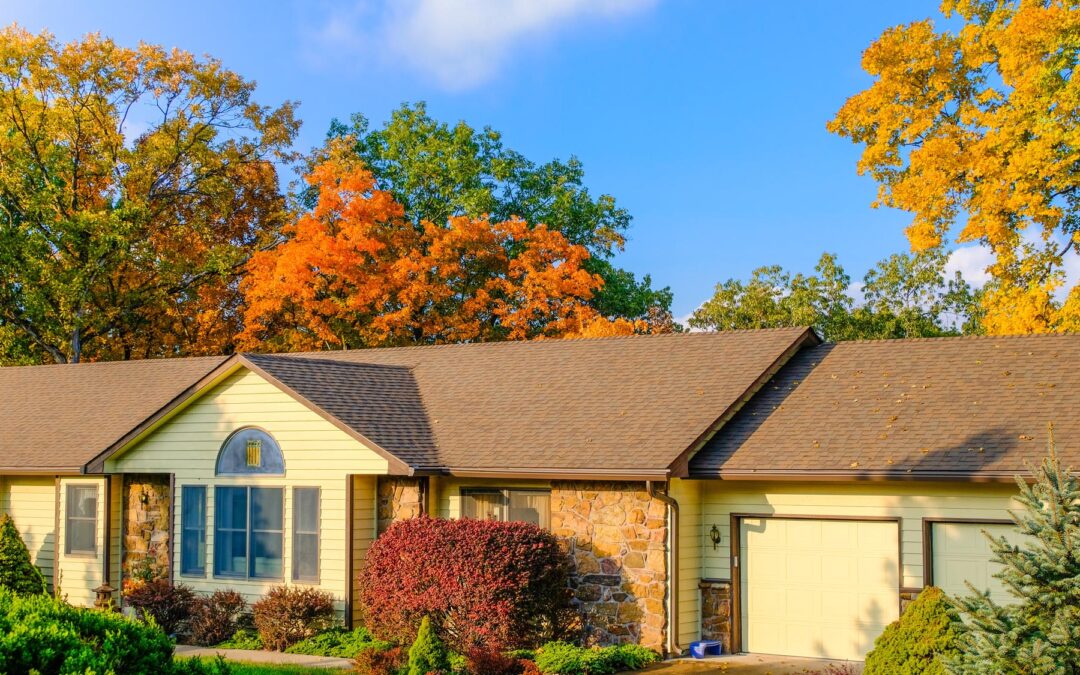
When it comes to home improvement projects, few are as significant as a roof replacement. A new roof is an investment that not only enhances your home’s curb appeal but also protects your property from weather-related damage. As a homeowner, knowing what to expect during the roof replacement process can help you plan accordingly and reduce stress. In this comprehensive guide, we’ll walk you through every step of the roof replacement journey and provide helpful tips to ensure the process goes smoothly.
Whether you’re getting ready to replace a worn-out roof or preparing for a complete home renovation, Mayo Custom Carpentry is here to guide you every step of the way.
1. Initial Consultation and Roofing Inspection
Before starting the roof replacement process, the first step is to schedule an initial consultation with a roofing contractor. At Mayo Custom Carpentry, we prioritize understanding the specific needs of each homeowner. During the consultation, a detailed inspection of your roof will be conducted to assess its condition and identify any underlying problems, such as water damage, leaks, or structural issues.
In many cases, a simple repair may be sufficient, but if your roof is nearing the end of its lifespan—typically around 20 to 30 years for asphalt shingles—then a full roof replacement may be necessary. If you’re unsure whether a repair or replacement is the right solution, check out our guide on roof repairs.
2. Choosing Roofing Materials
Once the decision has been made to move forward with a roof replacement, the next step is selecting the appropriate roofing materials. This is an important decision as it affects the durability, appearance, and energy efficiency of your home. At Mayo Custom Carpentry, we offer a wide variety of roofing materials, including:
- Asphalt Shingles: Affordable and versatile, these are the most popular choice for residential homes.
- Metal Roofing: Known for its longevity and resistance to extreme weather conditions.
- Wood Shingles and Shakes: Natural and beautiful, but require more maintenance than other materials.
- Slate and Tile Roofing: Highly durable and long-lasting, but more expensive and heavy.
Consider factors such as climate, budget, and aesthetic preferences when making your selection. You can learn more about the benefits of different materials by visiting Energy.gov.
Choosing Energy-Efficient Materials
For homeowners who prioritize energy efficiency, roofing materials like metal or reflective shingles can help reduce cooling costs during hot summer months. Choosing an energy-efficient roof can also contribute to reducing your home’s environmental footprint, a win for both your wallet and the planet.
To learn more about energy-efficient roofing options, check out the U.S. Department of Energy’s Energy Star roofing guidelines.
3. Preparing for Roof Replacement Day
Once you’ve selected your materials and agreed on a timeline with your roofing contractor, it’s time to prepare for the roof replacement. Preparation can make a significant difference in ensuring a smooth and efficient installation process. Here are some key steps to take:
3.1. Clear the Area Around Your Home
Ensure that any outdoor furniture, vehicles, and other objects are moved away from the house to allow the roofing team ample space to work. You’ll also want to trim any overhanging branches near your roof to prevent any obstructions during the process.
3.2. Protect Your Home’s Interior
While the roof replacement process takes place outside, there can be vibrations and noise that affect the inside of your home. Remove any valuable items from walls, and cover furniture or fragile items with tarps to protect them from dust or debris.
4. Roof Removal and Inspection
On the day of the roof replacement, the roofing team will begin by removing the old roofing materials. This step involves stripping away the shingles, flashing, and any underlayment. Once the old roof has been removed, the contractor will inspect the decking (the structural base of your roof) for any signs of damage or rot.
If the decking is in good condition, the new roof installation can begin. However, if the inspection reveals damage, the decking will need to be repaired or replaced before continuing with the roof replacement. This is a crucial step to ensure the integrity of the new roof.
5. Installation of Underlayment and Flashing
With the old roof removed and the decking prepared, the installation of the underlayment and flashing begins. Underlayment is a water-resistant barrier that helps protect your home from moisture. Flashing, typically made of metal, is installed around roof features such as chimneys, vents, and skylights to prevent water from seeping into your home.
These components are critical for ensuring your new roof remains waterproof and durable, particularly during extreme weather conditions like heavy rain or snow. You can find more information on the importance of proper flashing in this article from The Spruce.
6. Installing the New Roof
Once the underlayment and flashing are in place, the installation of the new roofing materials begins. Depending on the size of your home and the complexity of the roof design, the installation process can take anywhere from a few days to a week.
During this phase, the roofing team will carefully lay down the new shingles, metal panels, or tiles, ensuring proper alignment and secure placement. They will work methodically to meet the highest standards of safety and durability.
At Mayo Custom Carpentry, our expert team follows best practices to complete your roof replacement efficiently and with minimal disruption to your daily life.
Roofing Safety and Clean-Up
During the roof replacement, contractors prioritize safety. Reputable contractors follow all safety precautions and keep the work area clean. After completing the installation, the team thoroughly cleans your property, removing debris, nails, and old materials. They leave your yard and driveway just as clean as they were before the replacement started.
7. Final Inspection and Warranties
After the roof replacement is complete, the final step is a thorough inspection. The contractor will inspect the entire roof to ensure that they have installed everything correctly and that no issues remain. This is also your opportunity to walk through the work with your contractor and ask any remaining questions you might have.
Most reputable roofing companies, including Mayo Custom Carpentry, offer warranties on both materials and labor. This ensures that if any issues arise post-installation, your contractor will take care of repairs at no additional cost. Discuss the terms of your warranty with your contractor to ensure you understand what’s covered.
8. What to Expect After Roof Replacement
Once the roof replacement is complete, you’ll immediately notice the benefits. Your home will not only look refreshed and aesthetically pleasing, but you’ll also enjoy better protection against the elements. A new roof can even improve your home’s energy efficiency, especially if you opted for energy-efficient materials.
Beyond the immediate improvements, a new roof can boost your home’s resale value, making it a smart long-term investment. According to Remodeling Magazine’s Cost vs. Value Report, a roof replacement provides a high return on investment, recouping approximately 60-70% of the project cost in increased home value.
Conclusion
Roof replacement is a significant home improvement project that requires careful planning and preparation. By understanding what to expect during the process—from the initial consultation to the final inspection—you can approach the project with confidence. Mayo Custom Carpentry is here to make your roof replacement experience as smooth and stress-free as possible. If you’re ready to get started or want to learn more about our services contact us today.
For more insights on roof replacements and home improvement projects, check out this roofing guide from Bob Vila.


